To understand how to install carpet in your living space might sound like a project as there might be some specialized tools required in the process. Don’t worry, the process is very simple and you can get the carpet installation tools on rent. To install carpet does require some careful planning along with accurate measurements and the strength but it can be easily done over a weekday.
In this article, you will learn to lay carpet and hoe to do padding underneath along with tack strips that will keep the indoor carpet in the place. It is not a task that helps you to determine how much carpet you need and it is equally important to calculate rather than estimates for the same. With the help of guidelines in the article just learn the basics to install carpet in no time.
What are the basic tools and materials that are required to install the carpet?
– Staple guns
– Seaming irons
– Knives
– Safety glasses for your eyes
– Carpet stretchers
– Chalk and chalk reels
– Berber carpet
– Texture carpet
– Carpet tile
– Carpet padding
– Adhesive for carpet
– Carpet transition strips
What are the steps to install carpet in your Living space?
Step 1: Begin with Installing Tack strips
- First of all, remove everything from the floor and doors.
- Now, use a small saw and snips to cut the carpet tack strips.
- Place the strips with tack point facing the wall side.
- After this, just install the tack strips around the door frames.
- Now, keep a space that matches the two-third of the thickness of the carpet between the walls.
- Once confirmed, nail down the tack strips to the wooden floor for completing the process to install carpet.
Point to remember: The tack strips are also known as Tackless strips as they lessen the use for individual carpet tacks in order to hold down the install carpet to the floor.
Step 2: The second step is to install the carpet padding
- The first and foremost step is to install the carpet pad at the right angles.
- You need to tape the pieces with 2-3 inch masking tape.
- Now, use the stapler hammer-tacker to fasten the carpet pad.
- Just trim the excess pad with the sharp utility knife.
- After this follow the manufacturer’s recommendation for adhesive when installing the carpet.
Step 3: You just have to measure and cut the carpet
- First of all measure the room along the wall.
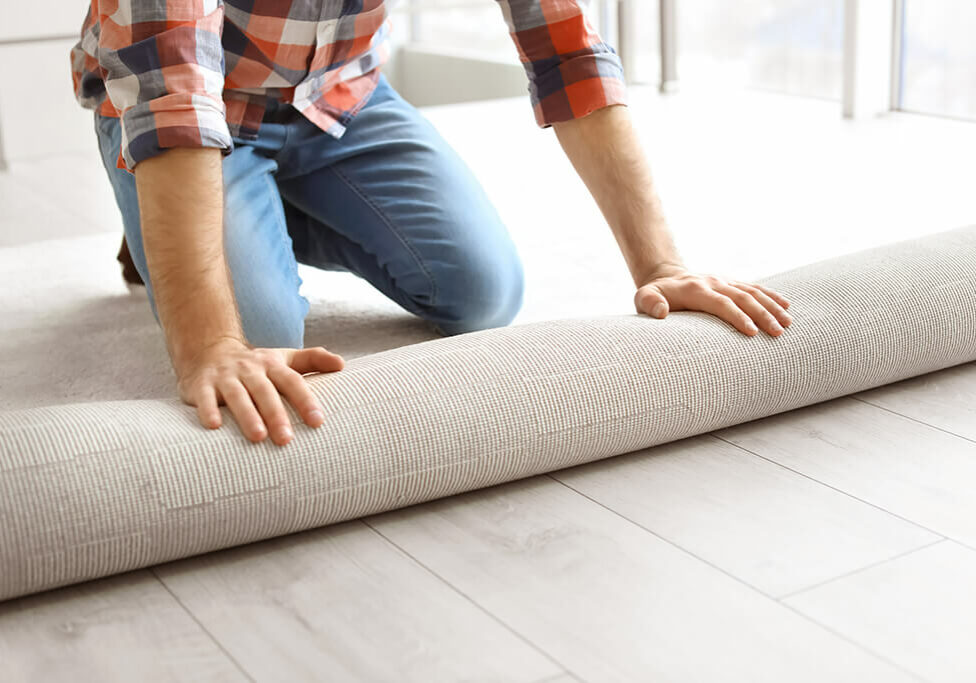
- Just unroll a sufficient amount of carpet.
- Scratch the back of the carpet with a utility knife.
- Just roll up the carpet and place a board underneath the carpet.
- Use the straightedge and be sure that you use the sharp blade.
Step 4: Just layout the carpet and then secure the seams
- First of all, unroll the carpet and make cuts at the corners with the knife.
- Unroll the additional pieces of the carpet and use the heat-activated where the two pieces.
- Just check the adjoining edges that they are touching but not overlapping.
- You have to lift and bend the backside of the seam.
- Follow the manufacturer’s guidelines properly and glue dries.
Step 5: You have to anchor along with the first wall
- Place the knee kicker near the corner.
- Just push and hook the carpet in the position.
- Move along the wall as you latch it to the strips.
- You need to move along the walls and stretch and then pull the wrinkles from the carpet.
- Attach the carpet and trim the excess with the trimmer.
- Just set the wall trimmer to thicken the carpet.
- Follow the instructions in the manual to use carpet tucker.
Step 6: Just stretch the carpet
- With the carpet anchored with the first wall use a carpet stretcher with lever action.
- Place the head of the stretcher away from the wall.
- Adjust the extension rods behind a stretcher.
- Use the scrap board to prevent the damage.
- Just push the lever down to stretch the carpet.
- Reach in front of the power stretcher to hook the carpet.
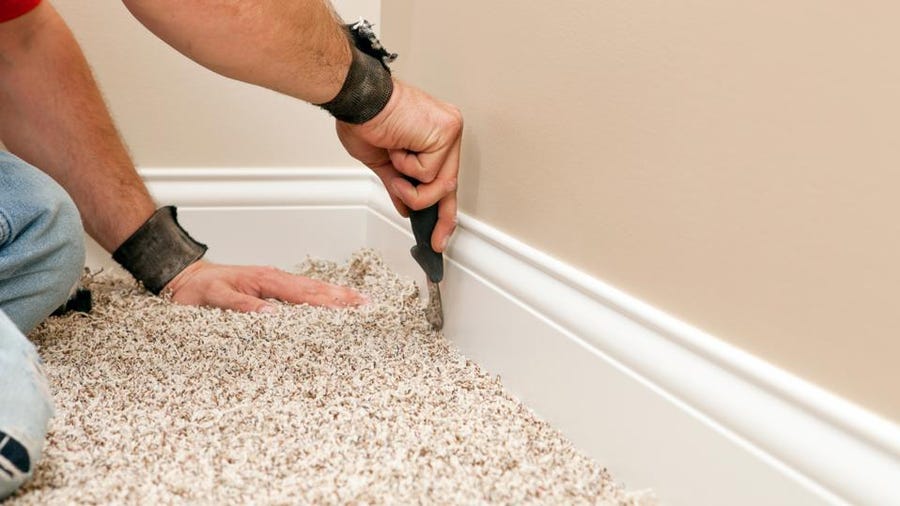
- Trim the excess with the wall trimmer and tuck the edge to the baseboard.
- When the carpet opposite walls, repeat the procedure to stretch, anchor, and tuck.
Step 7: Install transition moulding on the walls
- Install carpet strips where the carpets meet the flooring.
- Just seal the edge of the carpet with latex seam.
- Measure the threshold and cut the carpet gripper.
- Screw the carpet trim to the floor.
- Use the knee kicker to fit the carpet.
- Just hit the bar with a rubber mallet.
- It is important to remember to install the carpet process can be done with DIYers.
To conclude:
It is very important to consider this article as it will help you to install carpet in your living space that will beautify the spaces. However, if you have any queries related to the topic we recommend you visit the official website to install carpet without any interruptions. Just follow the steps carefully given in this article.


